Opening up a small kitchen to the livingroom is an advanced do it yourself project that can produce big results. If you’re thinking about taking this project on, a big deciding factor will be whether or not you’ll be working with a load bearing wall, and if there will need to be any plumbing or electrical moved. If the wall is load bearing, it will need (at the least) a new header for support. We won’t be covering that scenario here, we’ll be opening up a non-load bearing wall, with no electrical or structural issues to deal with. Also, check with your city or county to make sure you’re familiar with the codes surrounding this type of project.
Prep Work Is Key
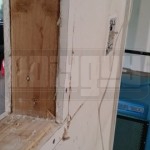
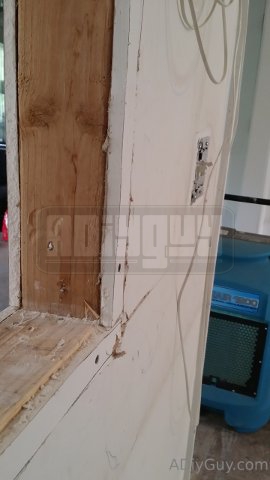
If you know you have a non-load bearing wall to work with, the best way to find out if there are any electrical wires or plumbing to deal with is to cut a few exploratory holes. You’ll want to get a professional to come out and move any pipes or wiring that are going to interfere. With it being standard to have an outlet every 4 feet, chances are you’ll find something in there. This is a popular project for the wall between the livingroom and kitchen, or the wall between the dining room and kitchen, so it’s a prime location for lots of things to be running inside the wall.
Demo
Demo is awesome, but don’t let it get you carried away. Someone’s going to have to fix all this, right? Have a good plan, some drawings might be in order here.

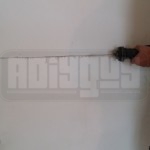
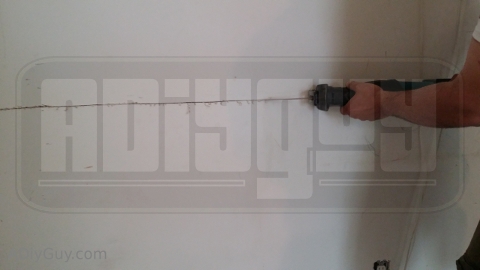
First things first, mark out your opening. Cut the drywall, then the studs.
Congratulations, you’re now totally committed to this project, as there is now a huge hole in your wall, complete with dangling 2x4s.
Finishing The Opening
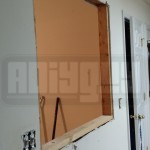
To simplify the project, we found a span that took advantage of two existing studs to form the sides of the opening. Finish off the framing by nailing in the top and bottom 2×4’s.
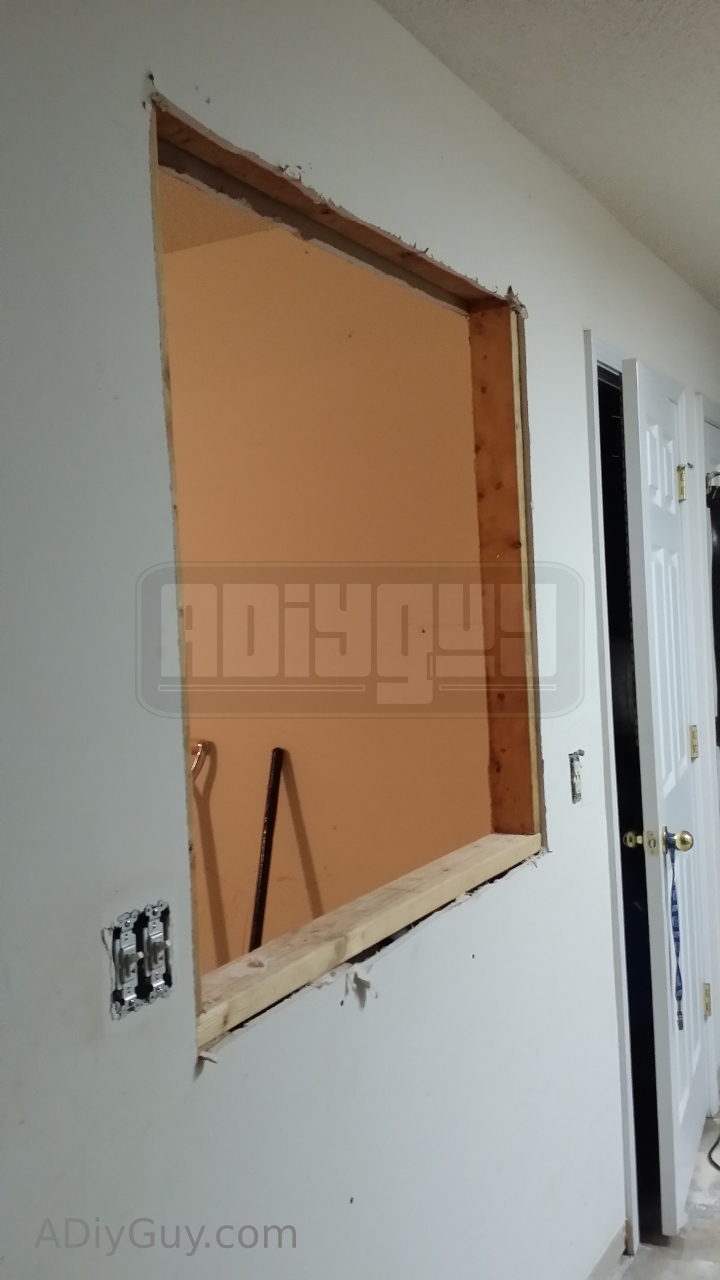
Using 2x4s, a new casing is formed, supporting the cut off studs top and bottom, and giving the whole new form some structure. Some drywall patching is needed to accommodate for the extra height of the 2x4s.
Mudding, taping and sanding is going to slow you down a bit at this point, but keep in mind that much of the patching and new construction will be covered by trim.
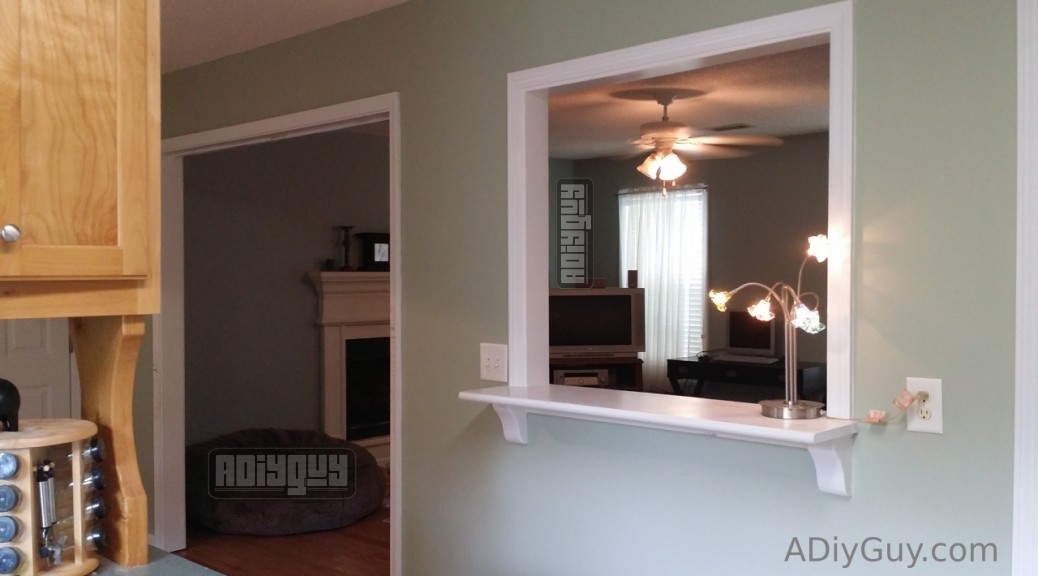
Finishing The Opening
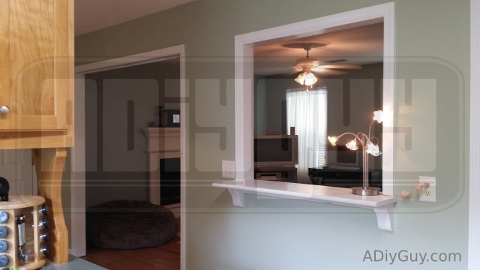
The finished look of the new opening is mostly deciding what style of trim pieces to use. Here, we’ve gone with a 1”x12” board on the base, using some simple, but eye-catching pre-fab supports. Both sides of the new framing have been trimmed out using 1x4s and trim to match the existing doorways and windows. Caulking all the new joints, and a fresh coat of paint give the whole project it’s finished look.